A wagon vise is one of the most useful vises you can put on a workbench, especially if you do a lot of hand planing. Here's how it works, how it compares to a tail or shoulder vise, and what you need to build one.
What is a wagon vise?
A wagon vise is an end vise built into the top of your bench. Instead of a big moving jaw, it has a block (the "wagon") that slides in a track inside the benchtop. The block has a dog hole in it. A screw at the end of the bench moves the block back and forth.
You put a bench dog in the wagon and another in one of the dog holes in line with it, set your board between them, and turn the handle. The board is clamped flat on the bench top, held from the ends.
Why woodworkers like them
- Holds boards flat for planing. The board lies on the bench with nothing above its surface, so you can plane the whole face without hitting a jaw.
- No sagging or racking. The wagon runs in a track, so it moves straight. It doesn't sag or twist like a traditional tail vise can.
- Clamps odd shapes. You can also hold work between the wagon and the end of the bench.
Wagon vise, tail vise or shoulder vise?
- Wagon vise: a sliding block in the top. Best for holding boards flat between dogs.
- Tail vise: a traditional end vise with an L-shaped moving jaw. Clamps between dogs and can also grip work in its jaws, but it's more complex to build and can sag over time.
- Shoulder vise: found on Scandinavian benches. It sticks out from the front corner and grips work vertically, with nothing in the way below the jaw. Great for dovetails and long edges.
My wagon and shoulder vise kits use the same screw, nut and hardware. The only difference is length: the wagon screw is about 16" long with about 8" of travel, and the shoulder screw is about 14" with about 6" of travel.
What you need to build one
- A row of dog holes in line with the wagon, spaced a little closer than the vise's travel so you can clamp any length of board.
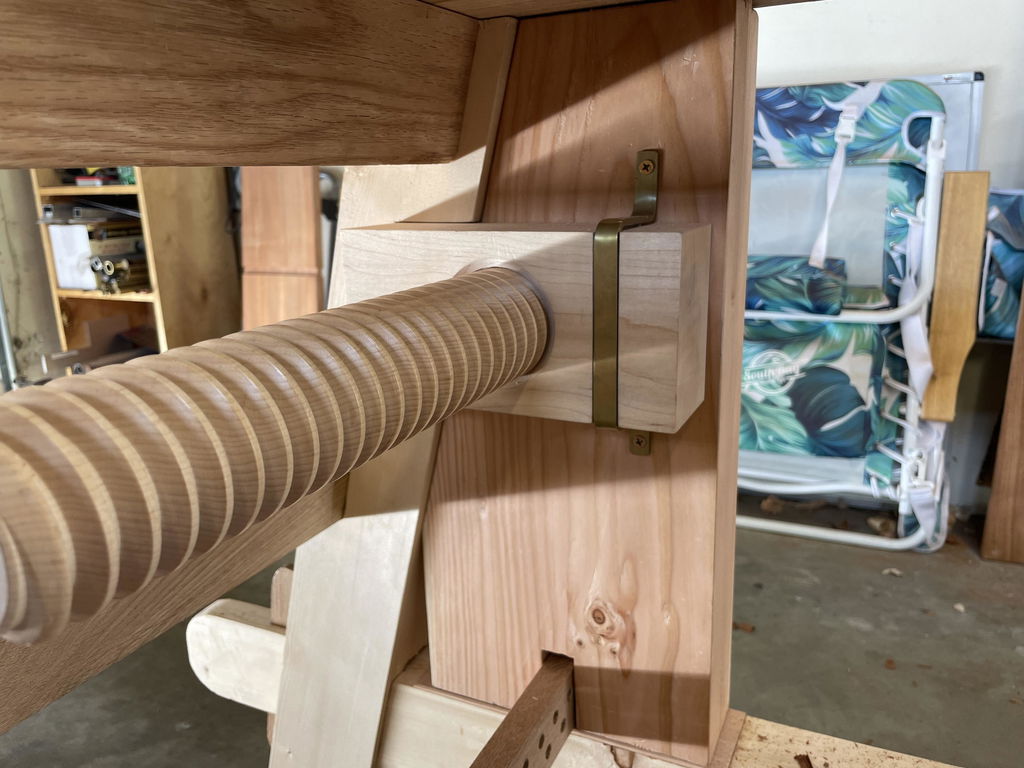
- A screw and nut. My wagon screw is hard maple, 2-1/2" in diameter with 2 turns per inch, milled from a solid billet with no glue joints.
- A way to connect the screw to the wagon so it pulls the block back as well as pushing it. My kit uses a brass connector plate, shoulder bolt and anchor.
- Runners and sliders that guide the wagon and let it slide smoothly. The complete kit includes two pre-slotted maple runners and two pre-drilled UHMW sliders, plus all the lag bolts and screws.
- An end cap to hold the nut. With the standard nut, you build up the end cap to hold it. The extended nut replaces that build-up and is counterbored so the vise sits closer to the bench top.
Installation takes some careful layout, but no special tools beyond what you'd use to build the bench. My installation instructions walk through it step by step.
Which kit should I get?
- Screw, nut and brass plate if you'll make your own handle and runners.
- Screw, nut, plate and handle to add the maple handle.
- Complete if you want everything, including the install hardware. This is the easiest route for a first build.
Many benches pair a wagon vise with a leg vise on the front. Order two or more vise kits and Bench Builder pricing applies automatically in your cart. Every vise I make comes with 30-day returns and a lifetime warranty.
Or find the right vises for your bench style on the Vise Selection Chart.
Nick Dombrowski, toolmaker