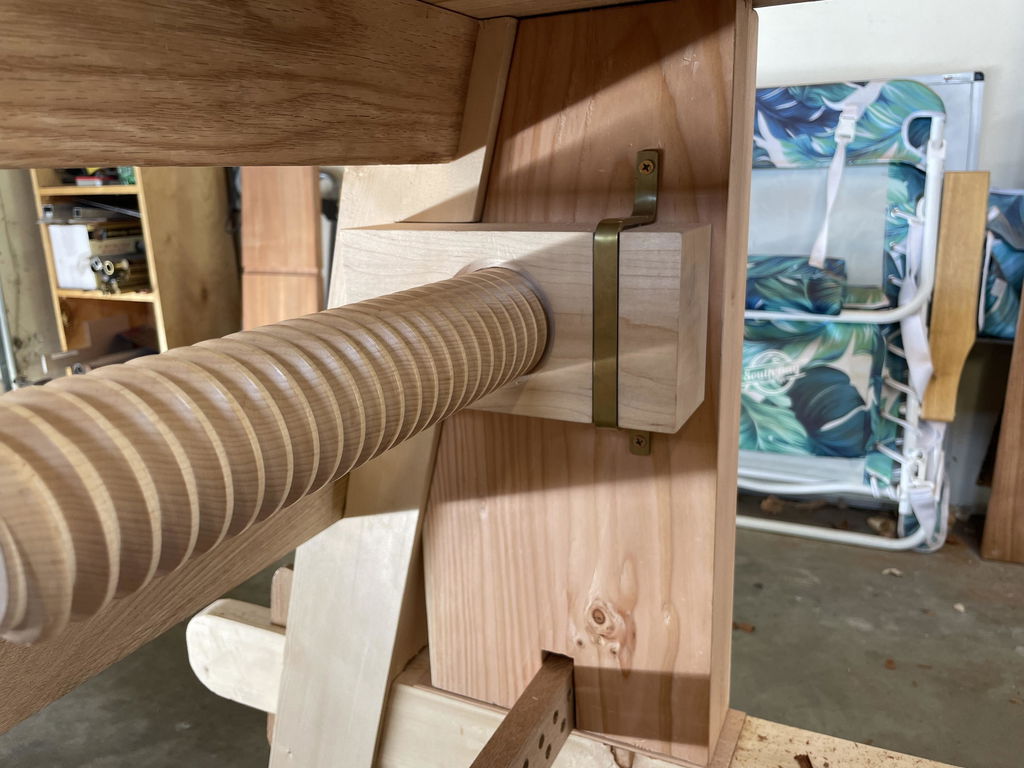
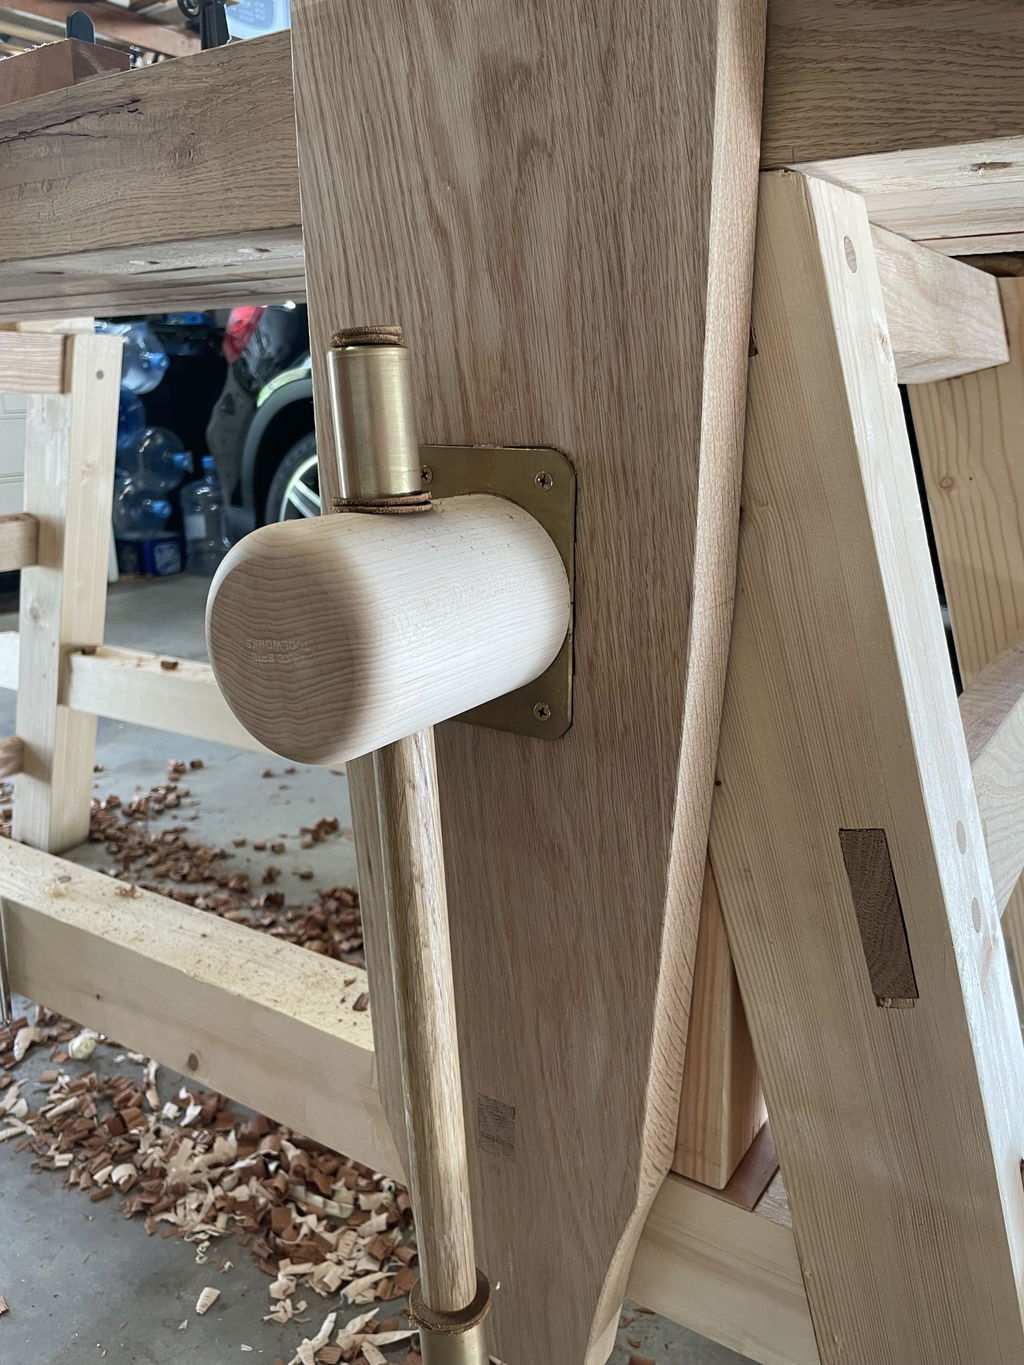
Thanks to Bill Leonhardt from East Patchogue, New York for sending in this detail regarding his version of the 21st Century Workbench that features a Lake Erie Toolworks wooden vise screw instead of the original metal twin screw design. This is truly one amazing workbench.


I was attracted, at first sight, to the 21st Century Workbench built by Robert Lang and featured in a Popular Woodworking magazine in 2008. I finally got an opportunity to build this bench in the beginning of 2020 and, fortunately, procured all the materials just before the Covid pandemic hit. It took me 4 to 5 months to complete and the final dimensions are 75” long (not counting end vise) x 30” wide x 34.5” high. The top is 3” thick and the final weight is about 312 lbs. The bench material is ash, and a nice feature is the fact that the top is in two halves and each half is narrow enough to fit through a normal 13-inch planer.
One of the reasons I am attracted to this bench is the fact that the base uses both upper and lower stretchers, which means it does not use the top for support or to stiffen it. That is important to me, because my use of the top is an evolving philosophy. With an “independent” base, I can reconfigure the top in the future if I choose to and still maintain the stiffness and rigidity the base offers.
I deviated somewhat form the original bench design to better accommodate my space limitations and to incorporate a leg vise in place of the original twin screw. I also changed the method of connecting the long stretchers to the legs so that the bench could be broken down and transported more easily. I opted for a leg vise with wood screw in place of the double screw vise and I used a quick release vise I had on hand for the end vise.
In building the leg vise, I used a precision shaft and linear bearing in place of the traditional multi-hole plate at the bottom of a typical leg vise which eliminates the need to shift the spacing pin for different material thicknesses. I chose a Lake Erie wood screw because it has a much coarser thread (than a metal screw) which means less turns for the vise travel. The combination of the precision shaft and wood screw makes for an exceptionally smooth operating vise.
In applying finish to the bench, I wanted to protect the wood, but, at the same time, I wanted to not have a slippery surface for working. In the end, I chose to use two wiped-on coats of the following mixture: 1/3 mineral spirits + 1/3 polyurethane + 1/3 boiled linseed oil. I am pleased with the way this turned out as I got the desired surface.
Note that the tool trays can be reversed to make one continuous top or removed to make clamping on one of the top halves easier. Additionally, I can saw wood that is held in the end vise “right-handed”. Never had this before since a typical face vise is at the left end of the bench. At this point, I am very happy with the current configuration and I anticipate no changes. I do however, like the fact that I can easily reconfigure the top in the future if I change my mind.