Many thanks go out to Bill Cary from Suffolk, Virginia for sending in this fantastic workbench idea. Bill sent in a complete build portfolio from start to finish of his amazing Roubo Workbench. We thoroughly enjoyed following his build process and I trust that you will as well. What a great job!


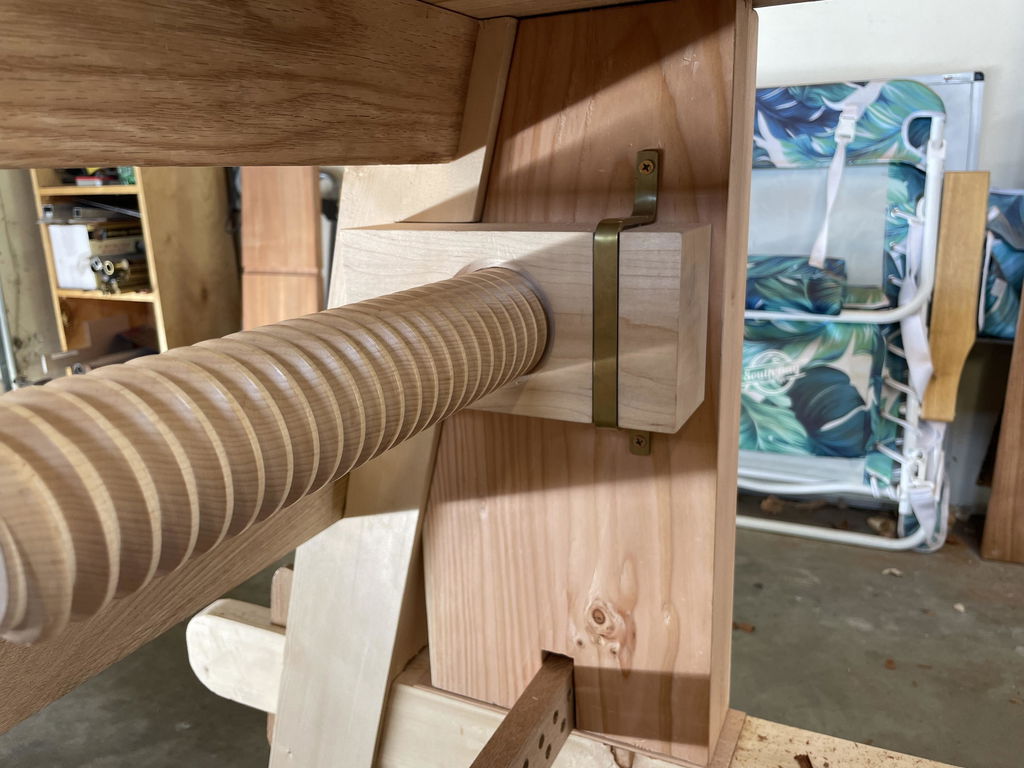
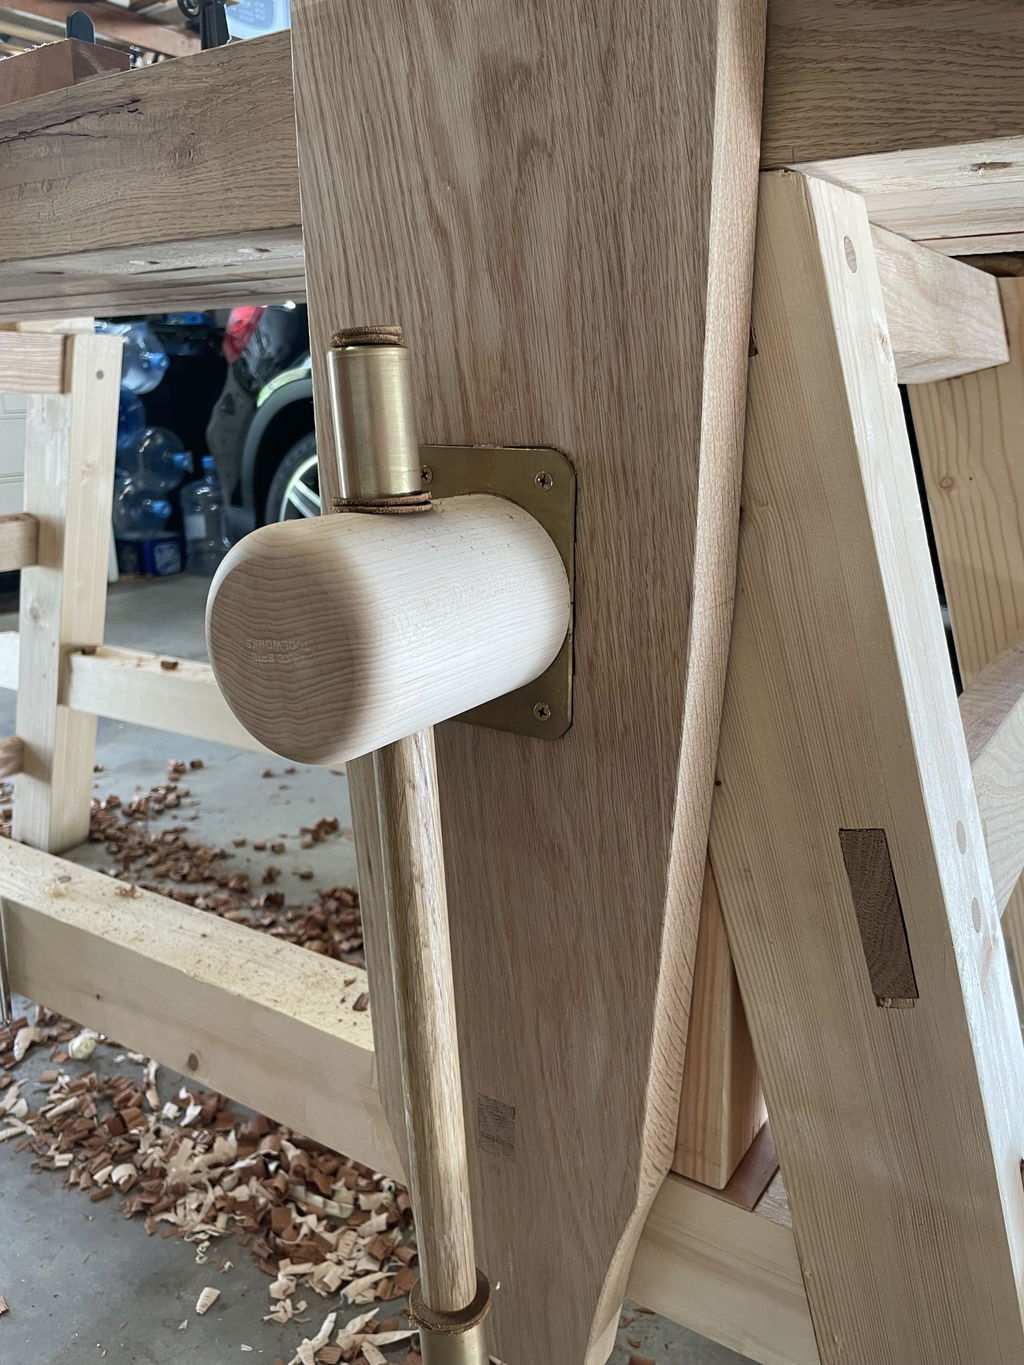
“Attached are pictures of my Roubo bench that I used your Lake Erie Toolworks Wood Vise Screw Premium Kit on for my leg vise. I also used a vise that is similar to a Sheldon vise, but much larger, for the tail vise and an Emmert patternmakers vise for the end adjacent to the leg vise.
I began the bench around the end of August, 2021 and completed it on October 20,2021.
I began with a 6x6 piece of rough poplar which was acquired at a local lumber yard. I finished it to 5”x5”x32.25”. The dovetails and tenons were cut with a Japanese pull saw.
The top was made from hard maple that I have had for about 25 years. It is 5” thick x 24”x 72” not including the vises. It was glued in sections. I used biscuits to align the boards as I glued them. I ran the first eight pieces that I glued through my planer. I clamped the last three pieces to each side of the original eight and laid out the dovetails and tenons. Unclamped the boards, made the cuts and glued each three-piece section together, let them dry, ran them through the planer and glued them to the eight-piece section.
I cut 5” mortises in the legs and glued 1.5”x 5” stretchers to connect the legs. The mortises were inset 1” on the legs to allow me to glue a 1”x 5” wide board to the stretchers to bring them even with the outside of the legs.
I made the cuts in the bottom of the top to accept the Emmert and the slot for the deadman to slide in. I made several test fits of the top and base before gluing them up with West System epoxy.
I attached the Emmert and the tail vise to the top before attaching the top and base.
Next, I made and installed the deadman.
The Leg vise came next. I followed the kit instructions for installation of the screw. I am very pleased with the quality of the screw kit and how it works.
I next made the bottom shelf from poplar. It was ship lapped and v grooved.
I made and installed the vice jaws for the tail vise after which I bored the 3/4” dog holes.
The bench was finished with 3 coats of an equal mixture of boiled linseed oil, mineral spirits and varnish.”Bill Cary – Suffolk, Virginia